Welcome to our Store!

Tips & Tricks
- The silicone bowls are collapsible, food grade and easy to clean.
- Silicone bowls and accessories are dishwasher safe.
- Wood handled tools should be hand washed to reduce risk of wear and tear.
- While proofing with your silicone bowl, liner or not, make sure the bowl is generously coated with flour to help reduce sticking. Any excess flour can be brushed off after baking.
- When cleaning your starter jars, use cold water. Gluten responds to heat and binds, which can clog pipes.
- You can bake in the silicone bowls but remember they bake up to 445 degrees F, so adjust your time and heat accordingly compared to other methods.
- Using a kitchen scale will help your baking success.
What's included
-
Proofing baskets
One boule (round) and one batard (oval). Used to help shape and rise the dough. With out it, the dough can lose its structure. The dough can proof on the counter if you plan to bake same day or overnight in the fridge. Heat rated up to 445 degrees F.
-
Dough scrapers
Stainless steal and plastic. Can be used to shape, divide, turn the dough or help it get unstuck without tearing.
-
Glass jar
600ml glass starter jar and lid. An important environment for your starter to grow! Glass is nonreactive and wont react to the acidity of the starter. The metal lid may be worn tightly if kept in the fridge between feeding.
-
Jar accessories
A cloth cover: while feeding, allows for gasses to form and escape and protects from any debris.
Feeding tracker: allows to track volume growth and day of last feed.
Thermometer sticker: place on your jar. temperature can affect your starter and dough. Ideal fermentation occurs around 76 degrees F, but can happen outside of that. -
Silicone accessories
Spatula: the long handle helps get to the bottom of the jar and stir. Allows for easy mixing and easy to clean.
Brush: allows to brush off any excess flour or can be used for egg washes or applying liquids to any bake! -
Wood handled accessories
Danish whisk: this classic bread making tool helps easily incorporate ingredients and is easier to clean than traditional whisks. Useful for thick doughs and other batters
Bread lame: and replaceable blades. Used to score bread before baking, allowing for the release of gasses from the rapid fermentation process while baking. Use your lame to truly make your bread into a work of art! See our Instagram video for assembly.

Your sourdough starter
If you are unable to obtain an established starter from a friend, family, online or farmers market, you can always build your own! It may take some dedication but having a well developed starter is an important step in your sourdough journey. There are many resources online for creating your starter but all it really takes is a little flour, water and love.
Ready to Bake?
There are plenty of recipes people follow when baking their loaves but if you are looking for somewhere to start, these steps have guided us in our sourdough journey.
THE NIGHT BEFORE
Build your Levain:
100g water at room temperature
25g sourdough starter
100g all purpose flour
In a mixing bowl or glass jar, mix your ingredients with the WildSkyCo Spatula. It should be thick like pancake batter. Put the lid on or cover and leave on counter overnight or around 8-12 hours. This is a great time to use the elastic feeding tracker. Place it around the jar at the level of your levain to track its progress.
THE NEXT MORNING
You may attempt a float test, some use this method to see if they are ready to bake. Take a small piece of your Levain and place it in some water. If it floats, it is ready for use! If it sinks, it may need more time to ferment. If you do not use this method, the levain should appear bubbly and have doubled in size. When ready, gather your mixing bowl and ingredients.
310g warm water (You may adjust to 290g for any environmental humidity. Using lower hydration may also be easier to work with for new bakers.)
200g Levain
450g flour (all purpose or bread flour, and even mixing in some whole wheat!)
12g salt
Mix with your WildSkyCo Danish whisk. This should become a shaggy and sticky mixture.
Next we bulk ferment! Cover your dough with tea towel or lid and leave for 30mins. Leaving your bowl in a warm place, like an oven with only the light on, can help this process. During this phase we want to help strength build our dough by doing stretch and folds. This involves folding in each side and corners of our dough ball approximately 3-4x. Leave in a ball shape in your mixing bowl, cover and let sit again for another 30 minutes. Repeat folding and fermenting process another 2x 30 mins apart. The dough will start out sticky and should become more smooth with your folds.
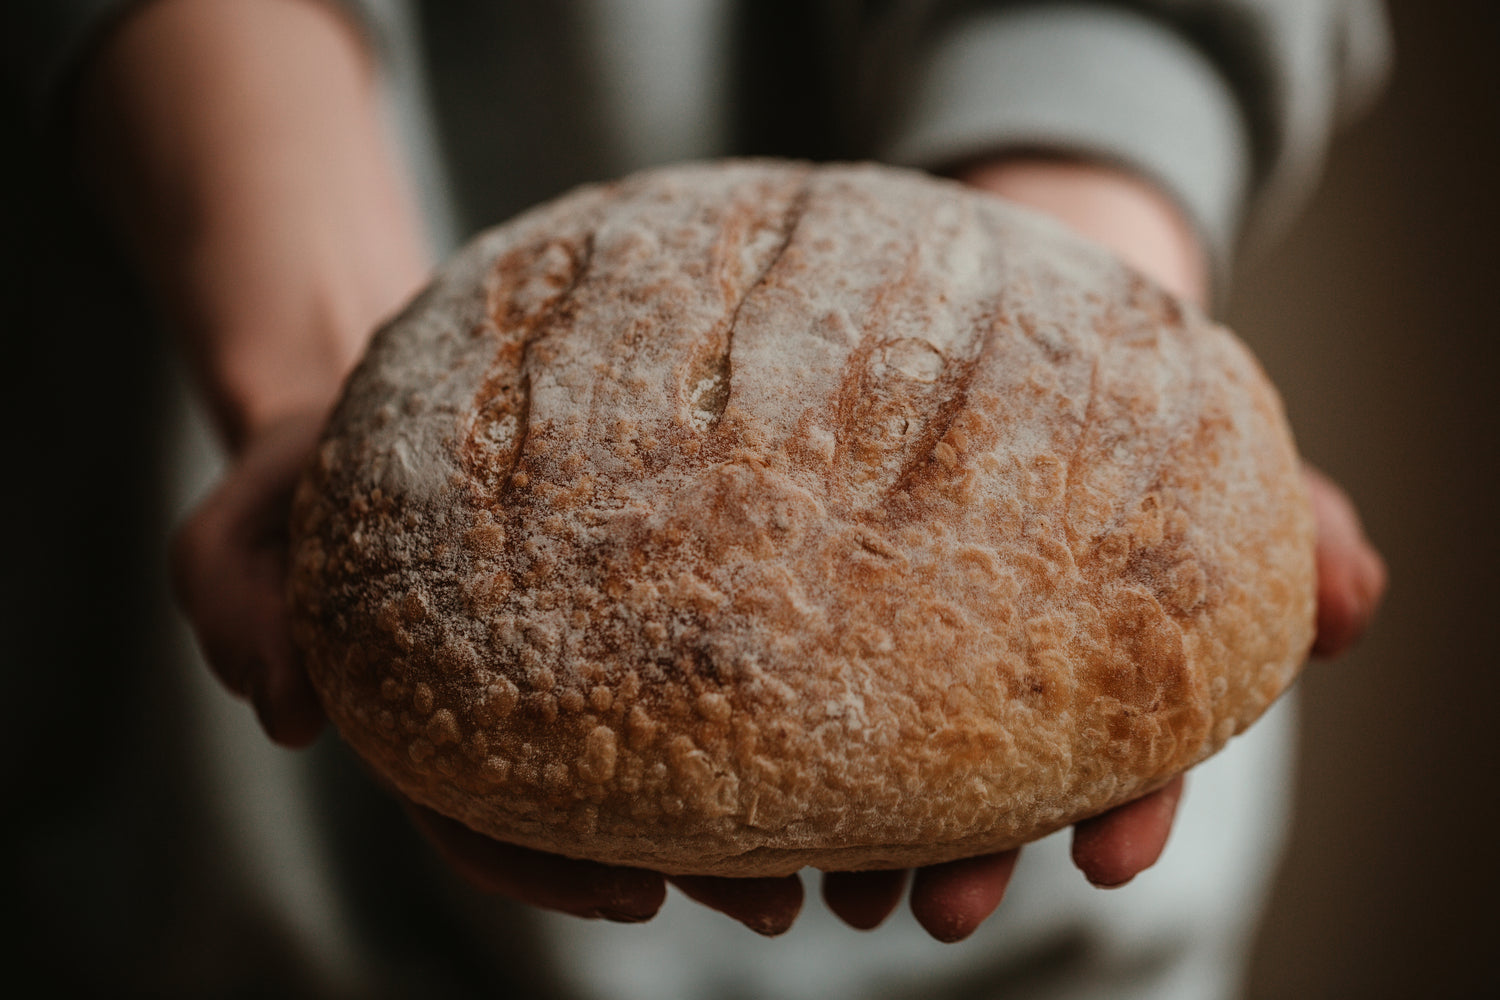
After your bulk ferment, generously flour (some prefer rice flour but bread or AP work fine) your WildSkyCo silicone proofing basket. Flour the top of your dough ball and flip it out onto a floured surface. We want to do another stretch and fold sequence, bringing the dough over and across to the opposite edges 3-4x. Place dough with seam up in silicone banneton and cover with tea towel approximately 90 minutes in a warm space. if you choose, instead of on the counter, you may cold proof overnight in the fridge or up to around 24 hours.
Preheat your Dutch oven for 30-40 minutes before baking at 500 degrees. Before you flip your dough out, you may attempt a poke test to see if your dough is ready, it should spring back slowly. Flip dough, seam down, onto precut floured parchment paper and score with your WildSkyCo scoring tool. Carefully lower bread, using parchment paper edges, into preheated Dutch oven. Bake at 485 degrees with lid on for 13 minutes. Turn heat down to 465, take lid off and bake for 20 minutes.
If you choose to bake in your silicone banneton, please remember the baking temperature is up to 445 degrees F. No need to flip the dough out, just do a simple score across the top and place in the oven approximately 50 mins or an internal temp of 205F. Using a tray of water on the rack underneath acts as a steam bath, which helps create a crispier crust and softer crumb.
To test if your bread is done, you may do a “knock test” on the bottom of your loaf; it should sound hollow. Or use a thermometer, which should read 205-210F. I know you will be eager to taste your sourdough loaf but please allow it to sit at least an hour before cutting.
Take into consideration your elevation for baking times. Please remember, sourdough baking should be fun and sometimes takes trial and error to figure out what work best for your loaf. If you live near the ocean or a high humidity location, you may need to reduce water or add more flour.
Happy Baking!
Check out our Products
-
Silicone Proofing bowls
Regular price $17.99 USDRegular priceUnit price / per -
Sourdough Starter Kit
Regular price $39.99 USDRegular priceUnit price / per

Ready to get started?
Check out our products!


